Re: Foot peg lowering kit for RT
Posted: Fri Jun 23, 2023 11:19 am
Another one with a smug look on my face for buying a Far East copy and not the well known brand rip off.
If you are going to go down this route a few tips.
1. Watch the Wunlerlich video on how to fit them a couple of times. It's a really good step by step explanation.
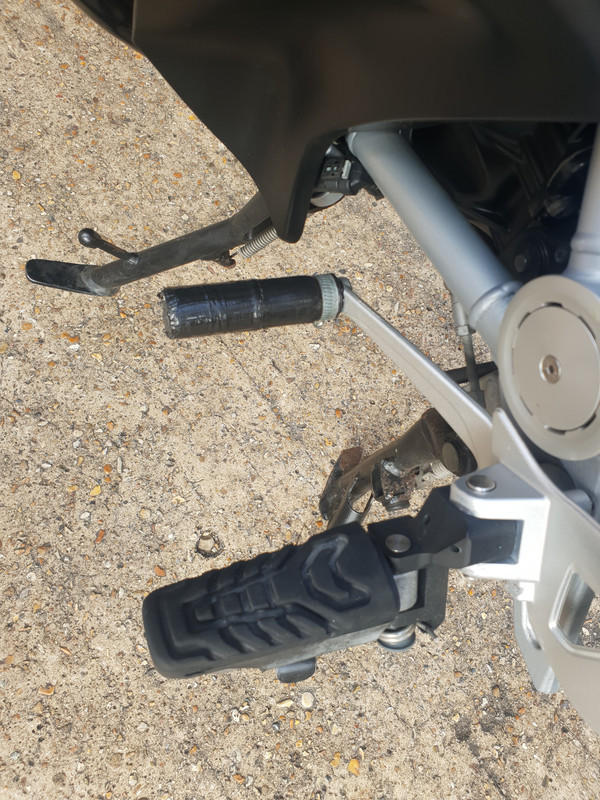
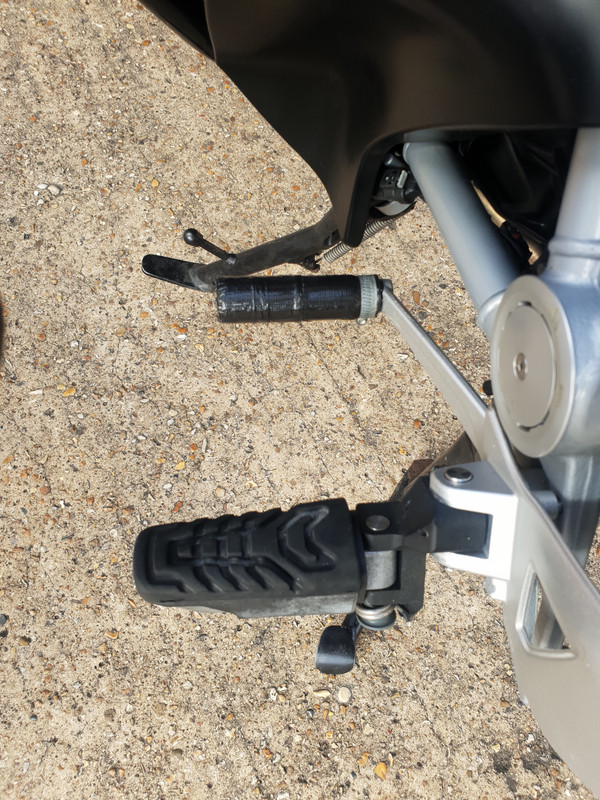
2. The footpeg pins that you have to drive out corrode and seized up. Several doses of penetrating oil applied over the preceding days will make it easier, but even then I suspect if your bike is a few years old you'll still end up hitting it with a big hammer & drift. Grease with waterproof grease before reassembly.
3. You'll need a T47 Torx bit (and an extension) to reach the bolt holding the RH footrest plate on. That size didn't feature in any of the sets I had and I had to order one.
4. The return spring for the hinged footrest is a real sod to put back on. The aforementioned video shows it just clipping into place with a little bit of help from screwdriver. Me, I swore & cursed.
4. Mark sure you've got a few spare circlips for the pins. One of mine went ping when I took it off and hasn't been seen since.
5. Lastly, the lowering kit pushes your feet out a little wider. Personally I found this added to the comfort but it does move your feet away from the foot controls. It doesn't seem to matter on the gear lever side, but I found the rear brake lever no longer fell in the right position for my foot. After a bit of assuming I'd just get used to it, I didn't. In the end I ordered a brake lever extender to make it right, and they're not cheap, £60 from N.N. AND because you've added a little height to the brake lever you have to lower it just a little to restore the right height.
If you are going to go down this route a few tips.
1. Watch the Wunlerlich video on how to fit them a couple of times. It's a really good step by step explanation.
2. The footpeg pins that you have to drive out corrode and seized up. Several doses of penetrating oil applied over the preceding days will make it easier, but even then I suspect if your bike is a few years old you'll still end up hitting it with a big hammer & drift. Grease with waterproof grease before reassembly.
3. You'll need a T47 Torx bit (and an extension) to reach the bolt holding the RH footrest plate on. That size didn't feature in any of the sets I had and I had to order one.
4. The return spring for the hinged footrest is a real sod to put back on. The aforementioned video shows it just clipping into place with a little bit of help from screwdriver. Me, I swore & cursed.
4. Mark sure you've got a few spare circlips for the pins. One of mine went ping when I took it off and hasn't been seen since.
5. Lastly, the lowering kit pushes your feet out a little wider. Personally I found this added to the comfort but it does move your feet away from the foot controls. It doesn't seem to matter on the gear lever side, but I found the rear brake lever no longer fell in the right position for my foot. After a bit of assuming I'd just get used to it, I didn't. In the end I ordered a brake lever extender to make it right, and they're not cheap, £60 from N.N. AND because you've added a little height to the brake lever you have to lower it just a little to restore the right height.